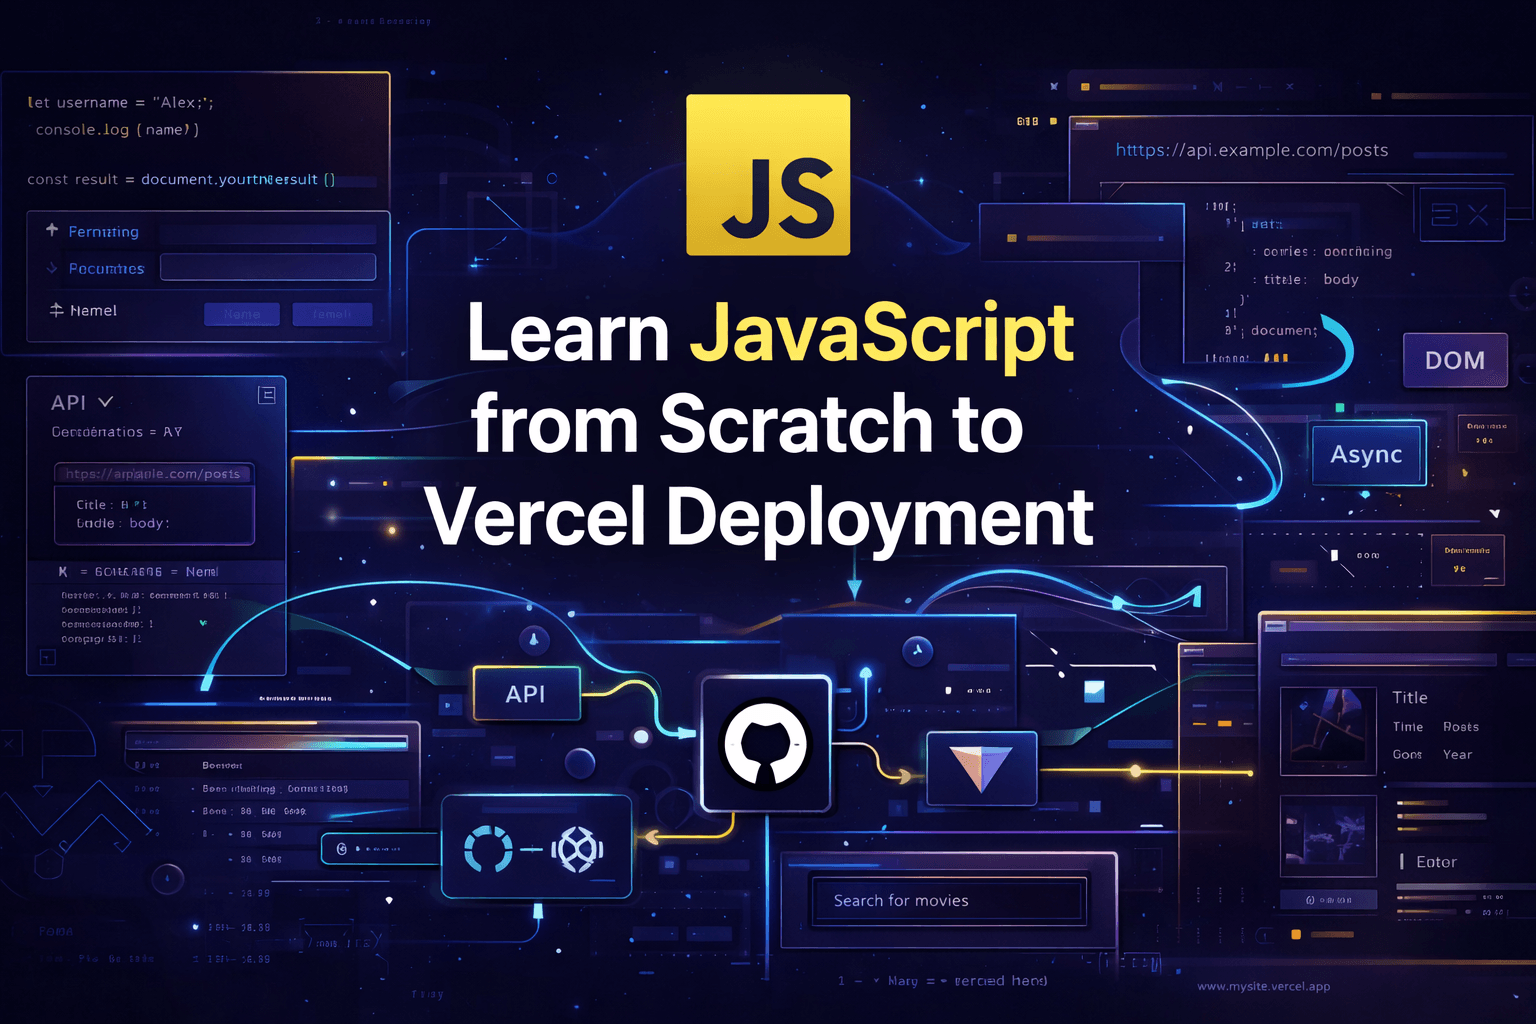
Learn JavaScript from Scratch to Vercel Deployment
A complete beginner-friendly roadmap to learn JavaScript from zero, build real browser projects, work with APIs, organize code with modules, use Vite, and deploy a finished app on Vercel.
Full JavaScript Roadmap for Beginners
From Zero to Vercel Deployment
What the beginner will build
By the end of this roadmap, the beginner should be able to build and deploy a small real project such as:
- a movie search app
- a country explorer app
- a weather dashboard
- a simple notes or task manager
The project should include:
- HTML structure
- CSS styling
- JavaScript logic
- DOM manipulation
- form handling
- API requests with
fetch - loading and error states
- modular code
- Git and GitHub
- deployment with Vercel
That is the real line in the sand. Not “I watched ten tutorials.”
Actual code. Actual project. Actual deploy.
1) Why Learn JavaScript First
JavaScript is the language that brings the browser to life. MDN’s JavaScript learning materials position it as a core web technology used to create dynamic and interactive experiences, while their beginner scripting path starts with exactly that foundation. (MDN Web Docs)
A beginner should learn JavaScript first because it teaches:
- programming logic
- interaction
- data handling
- browser behavior
- async thinking
- frontend fundamentals
If someone jumps into frameworks without learning JavaScript first, they are basically renting confidence they do not own.
2) Learning Phases Overview
A beginner should learn JavaScript in this order:
- Language fundamentals
- Arrays and objects
- DOM and events
- Forms and validation
- Modern JavaScript syntax
- Async JavaScript and APIs
- Project structure and modules
- Git and GitHub
- Vite
- Deployment on Vercel
This order is sane because each phase builds on the previous one.
3) Stage One — JavaScript Fundamentals
What the beginner must learn
Start with the core language:
- variables
- primitive data types
- operators
- conditionals
- loops
- functions
- scope basics
- truthy and falsy values
Concepts to understand
Variables
Learn let and const first.
const appName = "JavaScript Journey";
let currentLesson = 1;

console.log(appName);
console.log(currentLesson);
Data types
A beginner should understand:
- string
- number
- boolean
- null
- undefined
const username = "Alex";
const age = 20;
const isStudent = true;
const country = null;
let favoriteColor;
Conditionals
const age = 18;

if (age >= 18) {
  console.log("You can enter");
} else {
  console.log("Access denied");
}
Loops
for (let i = 1; i <= 5; i++) {
  console.log(`Number: ${i}`);
}
Functions
function greet(name) {
  return `Hello, ${name}`;
}

console.log(greet("Maria"));
Practice exercises
A beginner should practice:
- check if a number is even or odd
- calculate a discount
- convert Celsius to Fahrenheit
- print numbers from 1 to 100
- write a function that returns the largest of two numbers
Milestone
By the end of this stage, the beginner should be able to read and write small logic-based programs without panic.
4) Stage Two — Arrays and Objects
This is where JavaScript starts feeling useful.
What the beginner must learn
- arrays
- objects
- accessing values
- modifying values
- iteration
- array methods
- nested data
MDN’s JavaScript guide and beginner materials treat this as foundational because real applications are built around data structures, not random isolated variables. (MDN Web Docs)
Arrays
const fruits = ["apple", "banana", "orange"];

console.log(fruits[0]);
console.log(fruits.length);
Objects
const user = {
  name: "Alex",
  age: 22,
  isAdmin: false
};

console.log(user.name);
console.log(user.age);
Loop through arrays
const numbers = [10, 20, 30, 40];

for (const number of numbers) {
  console.log(number);
}
Must-learn array methods
map
const prices = [10, 20, 30];
const doubled = prices.map((price) => price * 2);

console.log(doubled);
filter
const products = [
  { name: "Keyboard", price: 50 },
  { name: "Monitor", price: 200 },
  { name: "Mouse", price: 25 }
];

const cheapProducts = products.filter((product) => product.price < 100);
console.log(cheapProducts);
find
const users = [
  { id: 1, name: "Ana" },
  { id: 2, name: "Leo" }
];

const user = users.find((item) => item.id === 2);
console.log(user);
reduce
const numbers = [1, 2, 3, 4];

const total = numbers.reduce((sum, current) => sum + current, 0);
console.log(total);
Beginner exercises
- filter a list of products by price
- find a user by id
- sum all numbers in an array
- transform names into uppercase
- count how many completed tasks exist
Milestone
By the end of this stage, the beginner should understand how to manipulate collections of data cleanly.
5) Stage Three — DOM Manipulation
This is where the browser stops being a painting and starts becoming a machine.
MDN’s web learning path treats scripting and DOM interaction as central to building real web interfaces. (MDN Web Docs)
What the beginner must learn
- what the DOM is
- selecting elements
- changing content
- changing classes
- creating elements
- removing elements
- listening to events
Select elements
const title = document.querySelector("#title");
const button = document.querySelector("#change-text-btn");
Change text
title.textContent = "JavaScript is working";Change classes
title.classList.add("active");
title.classList.remove("hidden");
Event listeners
button.addEventListener("click", () => {
  title.textContent = "You clicked the button";
});
Create elements dynamically
const list = document.querySelector("#task-list");

const li = document.createElement("li");
li.textContent = "Learn DOM manipulation";

list.appendChild(li);
Mini project idea
Build a simple task list:
- add task
- mark task complete
- delete task
Milestone
By the end of this stage, the beginner should be able to connect logic to UI.
6) Stage Four — Forms and Validation
A beginner must learn this early because forms are everywhere and broken forms are chaos with a submit button.
What the beginner must learn
submiteventsevent.preventDefault()- reading input values
- basic validation
- showing errors in the UI
- preventing empty or invalid input
Basic form handling
const form = document.querySelector("#signup-form");
const emailInput = document.querySelector("#email");

form.addEventListener("submit", (event) => {
  event.preventDefault();

  const email = emailInput.value.trim();

  if (!email) {
    alert("Email is required");
    return;
  }

  console.log("Form submitted:", email);
});
Show validation messages in the UI
const errorText = document.querySelector("#error-message");

if (!email) {
  errorText.textContent = "Please enter your email";
} else {
  errorText.textContent = "";
}
Beginner exercises
- required name field
- email must include
@ - password minimum 8 characters
- confirm password must match
Milestone
By the end of this stage, the beginner should know how to build real interactive forms instead of decorative input boxes.
7) Stage Five — Modern JavaScript Syntax
A beginner should not stay stuck in old JavaScript. That road smells like abandoned tutorials.
MDN’s modules guide and general JavaScript docs cover modern syntax as a normal part of current JavaScript development. (MDN Web Docs)
What the beginner must learn
constandlet- arrow functions
- template literals
- destructuring
- spread operator
- rest parameters
- optional chaining
- nullish coalescing
- modules with
importandexport
Arrow functions
const greet = (name) => `Hello, ${name}`;

console.log(greet("Sofia"));
Template literals
const product = "Laptop";
const price = 999;

console.log(`${product} costs $${price}`);
Destructuring
const user = {
  name: "Luis",
  age: 25
};

const { name, age } = user;
console.log(name, age);
Spread operator
const first = [1, 2];
const second = [3, 4];

const combined = [...first, ...second];
console.log(combined);
Modules
MDN’s modules guide explains how JavaScript modules let you split code into reusable files with export and import. (MDN Web Docs)
utils.js
export function formatPrice(value) {
  return `$${value.toFixed(2)}`;
}
main.js
import { formatPrice } from "./utils.js";

console.log(formatPrice(19.99));
Milestone
By the end of this stage, the beginner should be able to read and write modern JavaScript without feeling lost.
8) Stage Six — Async JavaScript and APIs
This is one of the biggest jumps.
MDN describes the Fetch API as the modern interface for fetching network resources, and their Fetch guide explains that it is promise-based and intended for modern web development. (MDN Web Docs)
What the beginner must learn
- synchronous vs asynchronous code
- promises
async/awaitfetchtry/catch- loading states
- error handling
- parsing JSON
Simple fetch example
async function getUsers() {
  try {
    const response = await fetch("https://jsonplaceholder.typicode.com/users");

    if (!response.ok) {
      throw new Error("Failed to fetch users");
    }

    const users = await response.json();
    console.log(users);
  } catch (error) {
    console.error(error);
  }
}

getUsers();
Loading state example
const result = document.querySelector("#result");

async function loadData() {
  result.textContent = "Loading...";

  try {
    const response = await fetch("https://jsonplaceholder.typicode.com/posts");
    const posts = await response.json();

    result.textContent = `Loaded ${posts.length} posts`;
  } catch (error) {
    result.textContent = "Something went wrong";
  }
}
Beginner exercises
- fetch users from a public API
- render results in cards
- show a loading message
- show an error message if request fails
- search by name or title
Milestone
By the end of this stage, the beginner should know how to bring external data into a web app.
9) Stage Seven — Build a Real Beginner Project
Now the beginner should stop collecting isolated exercises like trophies and build something end-to-end.
Recommended project
Movie Search App
or
Country Explorer App
Features it should include
- search input
- submit button
- API request
- dynamic rendering
- loading state
- empty state
- error state
- basic responsive layout
Example project flow
const form = document.querySelector("#search-form");
const input = document.querySelector("#search-input");
const result = document.querySelector("#result");

form.addEventListener("submit", async (event) => {
  event.preventDefault();

  const query = input.value.trim();

  if (!query) {
    result.textContent = "Please enter a search term";
    return;
  }

  result.textContent = "Loading...";

  try {
    const response = await fetch(`https://www.omdbapi.com/?apikey=YOUR_KEY&s=${query}`);
    const data = await response.json();

    if (!data.Search) {
      result.textContent = "No results found";
      return;
    }

    result.innerHTML = data.Search.map((movie) => `
      <article>
        <h2>${movie.Title}</h2>
        <p>${movie.Year}</p>
        <img src="${movie.Poster}" alt="${movie.Title}" />
      </article>
    `).join("");
  } catch (error) {
    result.textContent = "Something went wrong";
  }
});
Milestone
By the end of this stage, the beginner should have one real working app.
10) Stage Eight — Project Structure and Code Organization
Once the beginner has built a working app, they need to clean it up.
What the beginner must learn
- separating files by responsibility
- avoiding giant
main.jsfiles - creating utility modules
- separating API logic from UI logic
Example folder structure
javascript-roadmap-app/
├─ index.html
├─ styles/
│  └─ main.css
├─ js/
│  ├─ main.js
│  ├─ services/
│  │  └─ api.js
│  ├─ ui/
│  │  └─ render.js
│  └─ utils/
│     └─ helpers.js
└─ assets/
Example services/api.js
export async function searchMovies(query) {
  const response = await fetch(`https://www.omdbapi.com/?apikey=YOUR_KEY&s=${query}`);

  if (!response.ok) {
    throw new Error("Failed to fetch movies");
  }

  const data = await response.json();

  if (!data.Search) {
    return [];
  }

  return data.Search;
}
Example ui/render.js
export function renderMovies(movies) {
  const result = document.querySelector("#result");

  result.innerHTML = movies.map((movie) => `
    <article class="movie-card">
      <h2>${movie.Title}</h2>
      <p>${movie.Year}</p>
      <img src="${movie.Poster}" alt="${movie.Title}" />
    </article>
  `).join("");
}

export function renderError(message) {
  const result = document.querySelector("#result");
  result.textContent = message;
}
Example main.js
import { searchMovies } from "./services/api.js";
import { renderMovies, renderError } from "./ui/render.js";

const form = document.querySelector("#search-form");
const input = document.querySelector("#search-input");

form.addEventListener("submit", async (event) => {
  event.preventDefault();

  const query = input.value.trim();
  if (!query) return;

  try {
    const movies = await searchMovies(query);
    renderMovies(movies);
  } catch (error) {
    renderError("Something went wrong");
  }
});
Milestone
By the end of this stage, the beginner should understand basic code organization and modules.
11) Stage Nine — Git and GitHub
A beginner should learn version control before deployment, not after breaking everything and crying into the terminal.
What the beginner must learn
- initialize a repo
- stage files
- commit changes
- create a branch
- push to GitHub
- pull changes
- understand
.gitignore
Core commands
git init
git add .
git commit -m "feat: initial project setup"
git branch -M main
git remote add origin <your-repo-url>
git push -u origin main
Good beginner habit
Commit by milestones:
feat: add search formfeat: fetch movie datastyle: improve layoutfix: handle empty results
Milestone
By the end of this stage, the beginner should have their project safely stored in GitHub.
12) Stage Ten — Learn Vite
Vite’s official docs describe it as a modern frontend tool and currently require Node.js 20.19+ or 22.12+, with some templates requiring even newer versions. The docs also show npm create vite@latest as the standard way to scaffold a project. (vitejs)
Why a beginner should learn Vite
Because it gives:
- fast local development
- clean project structure
- modern module handling
- production builds
- a better experience than old-school manual setups
Create a Vite project
npm create vite@latest javascript-app
cd javascript-app
npm install
npm run dev
Useful commands
npm run dev
npm run build
npm run preview
What the beginner should learn inside Vite
src/public/main.js- static assets
- production build flow
Milestone
By the end of this stage, the beginner should be able to run and build a modern JavaScript app with Vite.
13) Stage Eleven — Prepare the App for Production
Before deployment, the beginner should clean up the project.
Checklist
- remove dead code
- fix console errors
- check broken images or links
- test empty state
- test error state
- test mobile layout
- confirm the production build works
Run a production build
npm run buildIf the build fails locally, deploying is just shipping your mistake faster.
Milestone
By the end of this stage, the app should be ready for public deployment.
14) Stage Twelve — Deploy on Vercel
Vercel’s docs say deployments can be created through Git, the Vercel CLI, Deploy Hooks, or the REST API, and each successful deployment gets a unique URL. Their docs also state that Vercel automatically configures build settings for many frontend frameworks while still allowing manual build customization in project settings. For Vite specifically, Vercel has dedicated docs for deploying Vite projects. (Vercel)
Simplest beginner path
Option 1: Deploy with GitHub
- Push your project to GitHub
- Sign in to Vercel
- Import the GitHub repository
- Let Vercel detect the project
- Review build settings
- Click deploy
- Get your public URL
What to check
- build command
- output directory
- environment variables if you use any API keys
- framework preset if shown
Optional path: Vercel CLI
If the beginner wants to learn terminal-based deployment later, Vercel docs also support CLI deployments. (Vercel)
Milestone
By the end of this stage, the beginner should have a public working app online.
15) Stage Thirteen — What the Beginner Should Learn Next
Once the beginner finishes this roadmap, the next step depends on their direction.
Frontend route
- accessibility basics
- responsive layouts
- localStorage
- debouncing
- browser APIs
- React, Vue, or Svelte
JavaScript deeper route
- closures
- prototypes
- event loop
- classes
- modules in depth
- error boundaries and debugging habits
Full-stack route
- Node.js
- Express
- REST APIs
- databases
- authentication
- deployment for backend services
16) Recommended Weekly Plan
Week 1
Learn:
- variables
- types
- conditionals
- loops
- functions
Build:
- small logic exercises
Week 2
Learn:
- arrays
- objects
- array methods
Build:
- product filter
- task list data practice
Week 3
Learn:
- DOM
- events
- forms
- validation
Build:
- to-do app
- simple signup form
Week 4
Learn:
- modern syntax
- modules
- async/await
- fetch
Build:
- API data viewer
Week 5
Learn:
- project structure
- Git and GitHub
- Vite
Build:
- real small app with modules
Week 6
Learn:
- production checks
- Vercel deployment
Build:
- final deployed project
A motivated beginner can do it faster. A careful beginner can take longer. Better slow and real than fast and fake.
17) Final Advice for a Beginner
A beginner should not try to learn everything at once.
The right flow is:
- learn the language
- learn the browser
- learn data
- learn async work
- build one project
- organize the code
- deploy it
That is how skill grows with roots.
Frameworks come after that.
Not before.
- MDN JavaScript Guide: ()
- MDN JavaScript Modules Guide: ()
- MDN Fetch API: ()
- MDN Using Fetch: ()
- Vite Getting Started: ()
- Vite Config Guide: ()
- Vercel Deployments: ()
- Vercel Getting Started: ()
- Vercel Vite Docs: ()
FAQ
Is JavaScript enough to build and deploy a real project as a beginner?
Yes. A beginner can absolutely build and deploy a real frontend project using JavaScript, the DOM, fetch, GitHub, Vite, and Vercel. Vite and Vercel both document beginner-friendly paths for modern frontend setup and deployment. (vitejs)
Should a beginner learn JavaScript before React or Vue?
Yes. Learning JavaScript first makes frameworks much easier because the beginner already understands variables, arrays, objects, functions, modules, and async behavior.
Why learn `fetch` early?
Because modern apps constantly consume APIs, and MDN documents Fetch as the modern promise-based interface for network requests. (MDN Web Docs)
Is Vite a good choice for beginners?
Yes. Vite’s docs present it as a modern frontend tool with fast setup and production builds, which makes it a strong beginner choice for plain JavaScript projects. (vitejs)
Is Vercel good for deploying beginner frontend apps?
Yes. Vercel supports Git-based deployment, generates unique deployment URLs, and provides framework-aware build handling for frontend apps, including Vite projects. (Vercel)
Related Stacks

Astro + Tailwind CSS for Modern Landing Pages
A beginner-friendly stack for building fast, modern, and visually polished landing pages with strong performance and clean frontend architecture.

Astro with Content Collections + Tailwind 4 + shadcn
A modern portfolio stack for developers, designers, and creators who want a fast personal website, polished project showcases, reusable UI components, and structured content without relying on a full CMS.

Nuxt 4 + Strapi 5
A modern content-driven stack for SEO-friendly websites, blogs, documentation platforms, and scalable editorial projects.

Next.js + Sanity
A flexible stack for content-rich websites that need strong editorial tooling, fast previews, and modern React-based frontend delivery.
SvelteKit + Tailwind CSS for Modern Landing Pages
A flexible landing page stack for developers and startups who want modern design, strong performance, and room to grow into a more interactive web experience.
Scalable NestJS Backend Stack
A structured backend stack for teams that want strong TypeScript support, scalable architecture, reliable relational data, and clean long-term maintainability for modern APIs and backend systems.